Available NOW in the USA HERE.
All our EU International friends can purchase them HERE.
If you are a non EU country you can purchase direct from SCACD HERE.
You should have arrived from Alex's Blog where I'm sure she wowed you with her fabulous creations.
I'm thrilled to be showcasing the brand new Steampunk Penguin and Flaming Heart.

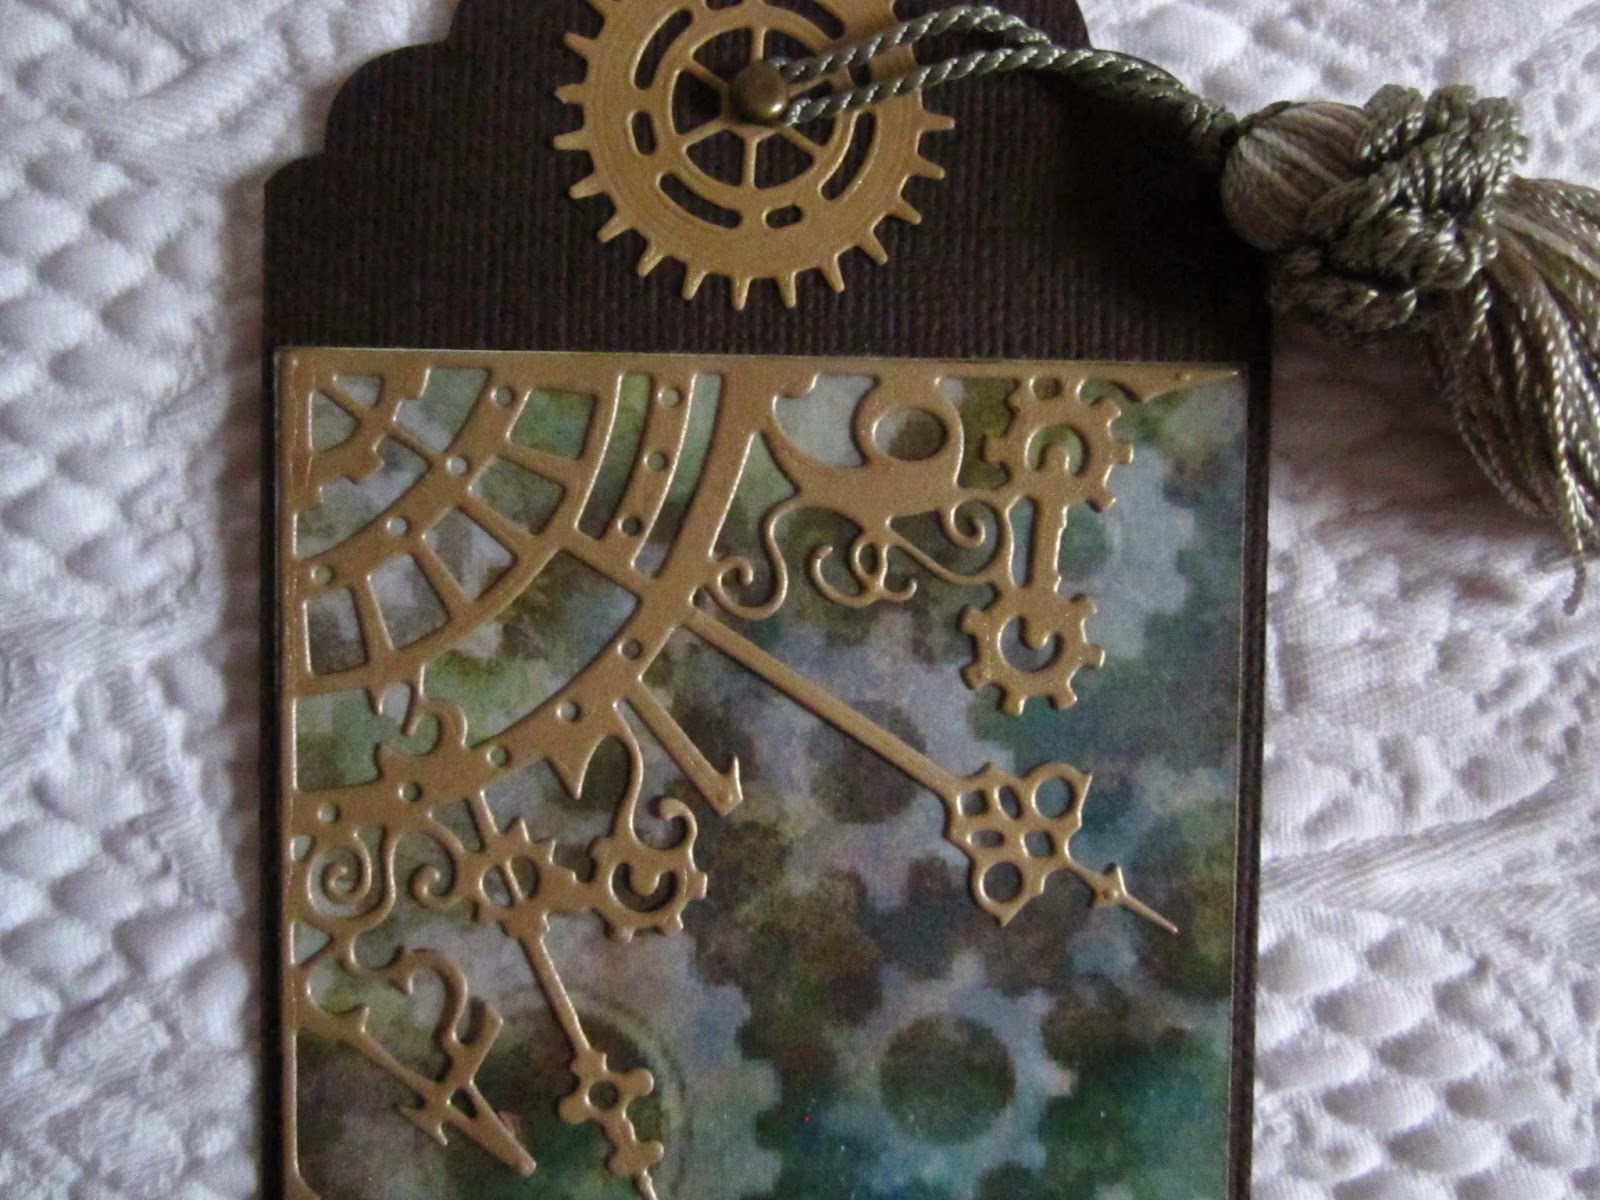
Don'tcha just LOVE penguins? And this guy is such a dapper gent. I couldn't resist decking him out in Christmas colors and adding him to a die cut Steampunk wreath, to which I've added a few snowflakes. He's colored with Copics with some Stickles brightening up his lightbulbs, then fussy cut and popped with foam for dimension. There's a few flat backed silver beads adorning his gear, as well. He'd also be great for a guy card any time of year. Check him out HERE.
I'm adding this to the Outlaw Friday Coloring ATG/ Christmas Challenge.


I flipped the design in my printing program and printed it on regular copy paper. (This gives the best impression when tracing the design, but if you have to go over it too many times it will tear, so be careful.) Then I taped it to the back of some colored sheet metal. I hoped I had just plain silver, but I could only find red in my stash. I wasn't sure if I could color the red, as easily, but it was worth a try. (Yeah I do see that the back of this red sheet is silver, DUH! but it was the wee hours of the morning and obviously I wasn't thinking too clearly. That's my excuse and I'm sticking to it, and in the end, I was really glad I used the red side.)
I laid the metal on a foam piercing mat and traced the flames and heart shape with a small stylus and bumped out the heart with a metal working tool. Then I went back and traced the vines and thorns. I have some inexpensive permanent Bic markers (what they called "fine" which is similar to what Sharpie calls "fine". Hardly, but... I took a vibrant yellow and started to color in the flames between the embossed outlines, and miraculously, the pen removed the red coating and colored it in yellow. (I did have to wipe the tip regularly to get off the red gook, but hey, I was thrilled.) For the fine details, I used a .05 Micron pen. The metal cuts easily with scissors and, after fussy cutting, I used Glue Dots (the dimensional ones inside the bumped out heart and regular ones for the flames) to adhere it to the box top. I finished it off with gold filigree stickers, et VOILA! Gotta say I really, really, REALLY love how it came out. Such a cool image, I've got lots more plans for it.
Thanks for hanging in there with me. You should be going next to Kathi. I'm sure she has something fabulous to show you. If you want to make sure you see all of the the Designers showcasing the stamps, then head back to the SCACD Store Blog HERE for there list.
Also, please note that SCACD is having a SALE (WooHoo!) so check it out HERE.