Showing posts with label Door Hanger. Show all posts

Saturday, February 28, 2015

J'adore Paris


Here's a wall hanging I did as inspiration for Gecko Galz with a Paris theme. First I covered an paper mache heart with digi paper from the Parisian Dreams paper pack and added pleated black organdy trim to the edge.  Then I cut and both the shadow and regular Eiffel tower with my Cricut and embossed them with Cuttlebug embossing folders and popped them with foam at an angle.


I cropped and collaged 5 different digi stamps from the French Connections stamp set, colored them minimally with Copics and added some Frantage for the main event.  The J'Adore Paris banner was fussy cut from another of the stamps in the set and popped near the top.


Here's the dimensional view.  I've used tulle as a hanger, strung through the holes in the heart and finished off with some jet adhesive flat back gems.

I'm entering this in the Simon Says Monday No Rules (ATG) challenge, Simon Says Wednesday ATG, the As You Like It Favorite Anything but a Card Project (mine are wall hangings because they can be hung anywhere to brighten up a room or door), Frilly and Funky It's Time for a Vacation (I'll say!)  and the Outlawz Monday Greetings ATG Challenge.


And here's one more 100% digital inspirational piece using the Icons from the Gecko Galz February Coquette Digital Club Kit available HERE, individually and HERE as part of a subscription.  The girl, rose frame, additional roses at the bottom, eyelet lace and polka dot tag are all included in the kit (along with many more) in png form so they were easy to layer in the printing program of choice (mine was Printmaster Platinum).  All I added was the rectangular frame, drop shadows and computer generated sentiment.  I rarely do all digital projects, but this was easy, fun and I think, really pretty, using the Club Kit Icons.   I'll be playing more with these for sure.

I'm entering this in the Digitally Sweet ATG Challenge #129.

Wednesday, August 13, 2014

New Delicious Darkness Challenge #1!


I'm very excited to announce that the very first Challenge at The Delicious Darkness Challenge Blog is now LIVE and I am on the team!!!  Our first theme is ATG, (as long as it's DARK or alternative) and you needn't even use a Delicious Darkness stamp. It runs from the 13th of every month to the 10th of the next so there's plenty of time to play.  I've created a wall hanging which started out as a fairly simple project but just grew and grew.  And so did this post, so grab a cuppa, you're gonna be here awhile.


This inspiration came first from one of Teri's newer stamps, Disturbia, with it's giant pile of creepy characters.  A good portion of the DD team also resides in the dungeon with me at HDH (imagine that!) so this reminded me of them.  xx I printed this stamp 5 times so I could fussy cut the crew and add the dimension I so love. (Better pic of that later.) Fortunately, there was minimal coloring to do, just my usual fave combo of WG! and G21 for Zombie flesh, some more warm grays for shadowing, and a couple of other greens for the lovely snakes slithering about.  After distressing the edges, I chose one of the digi papers from the Beastly Paper Pack (a total "must have").


When I saw this sentiment from Ginger's House I couldn't believe the luck! We're a tight knit bunch and this really fit the bill.  Cut and matted with Spellbinders Labels One and inked with Distress.  OOOH, notice the google eye?  They're splattered throughout.


However, the hanging was a bit lob sided now with that large sentiment, so I looked to the papers of balance it out a bit.  Ah yes, Teri's Pentagram did quite nicely.

This weekend, I went to the Scrapbook Expo in Santa Clara hoping to score, among other things, some more of the Melissa Frances hangers I so love.  However, much to my dismay, they no longer make them in black.  Bummer!  Not that I can't paint the, but...  Anyway, I bought a number of them and tried a few and this, a new style for me, looked the coolest.  However, it needed something to darken it up a bit (besides a bit of Distress Ink).  So on with the Ram's Skully (also from the DP).  WooHoo!


But, of course, I just could leave it flat.  Printed 5 times and fussy cut, here's the dimensional shot.  By the end of this project my hand was in spasms!


And finally, the dimensional shot of my bunch of crazies.  I considered naming them but didn't want to cause any more chaos. (But I'm the one middle left with her mouth open, big surprise.)  Thanks for hanging in there with my longer than long post, but, as you can tell, I really, really, REALLY love this project.

So, if you haven't visited the new Delicious Darkness Challenge Blog, you're in for a treat.  Go meet the team and check out the fabby makes and by all means, come play along.

I'll be adding it to the following dark themed blogs:  Left of Center ATGPYG August ATG Challenge, A Step in the Dark ATG.  And the mainstream Oldie but Goodie Black and White Plus One (Green and my oldies are the google eye's that are so old, some of them have turned a bit cloudy.), All Crafts Anything but a Card Aug/Sept, and Anything But a Card Repeating Motifs

Sunday, July 13, 2014

No Peeking!


Here's a little Christmas project I just finished for the Lacy Sunshine Blog using the adorable Bows Santa's Little Helper available in the Seasonal section of the Lacy Sunshine Shop.  At my house I always store presents in the guest bedroom and wrap them there as well.  They are not always hidden away, so I thought it might be fun to make a little door hanger that warns the hubby not to go in there or he'll ruin my surprises.


Isn't Bows the cutest ever!?  She was so much fun to color with my Copics in the traditional red and green to match the fun DP all covered in wrapped gifts.  I've added some mini jingle bells to her top and one of her bows,


and to make sure I hear any snoopers, I've added a whole row of jingle bells with jump rings to the bottom of the hanger.  When I'm done wrapping, I can use this as a tag for a giant present.  Those bells ought to deter any shaking, don'tcha think?  Hope you like my little project.  It's never too early to be thinking about Christmas and you can find so many adorable Christmas digis in the Seasonal Section as well as the fabulous new Under the Sea Christmas Collection in the New Section of the shop.  Check out this month's Challenge and examples of the new cuties HERE.

I'm entering this in the CHNC Glam it Up Challenge, CHNC July Challenge Extra, Sweet Stampin Christmas in July, Simply Create Too Christmas in July, Christmas Stampin' All Year Long ATG, DTBST Christmas in July, Inky Chicks Christmas in July, Jingle Belles Shopping our Stash (everything but the larger jingle bells and the image is more than a year old)  and Shopping Our Stash (see previous list for stash) , Polkadoodles Add a Twinkle and Completely Christmas ATG.

Friday, May 30, 2014

Lucy Loo 'Lucy Longstocking', New from The East Wind


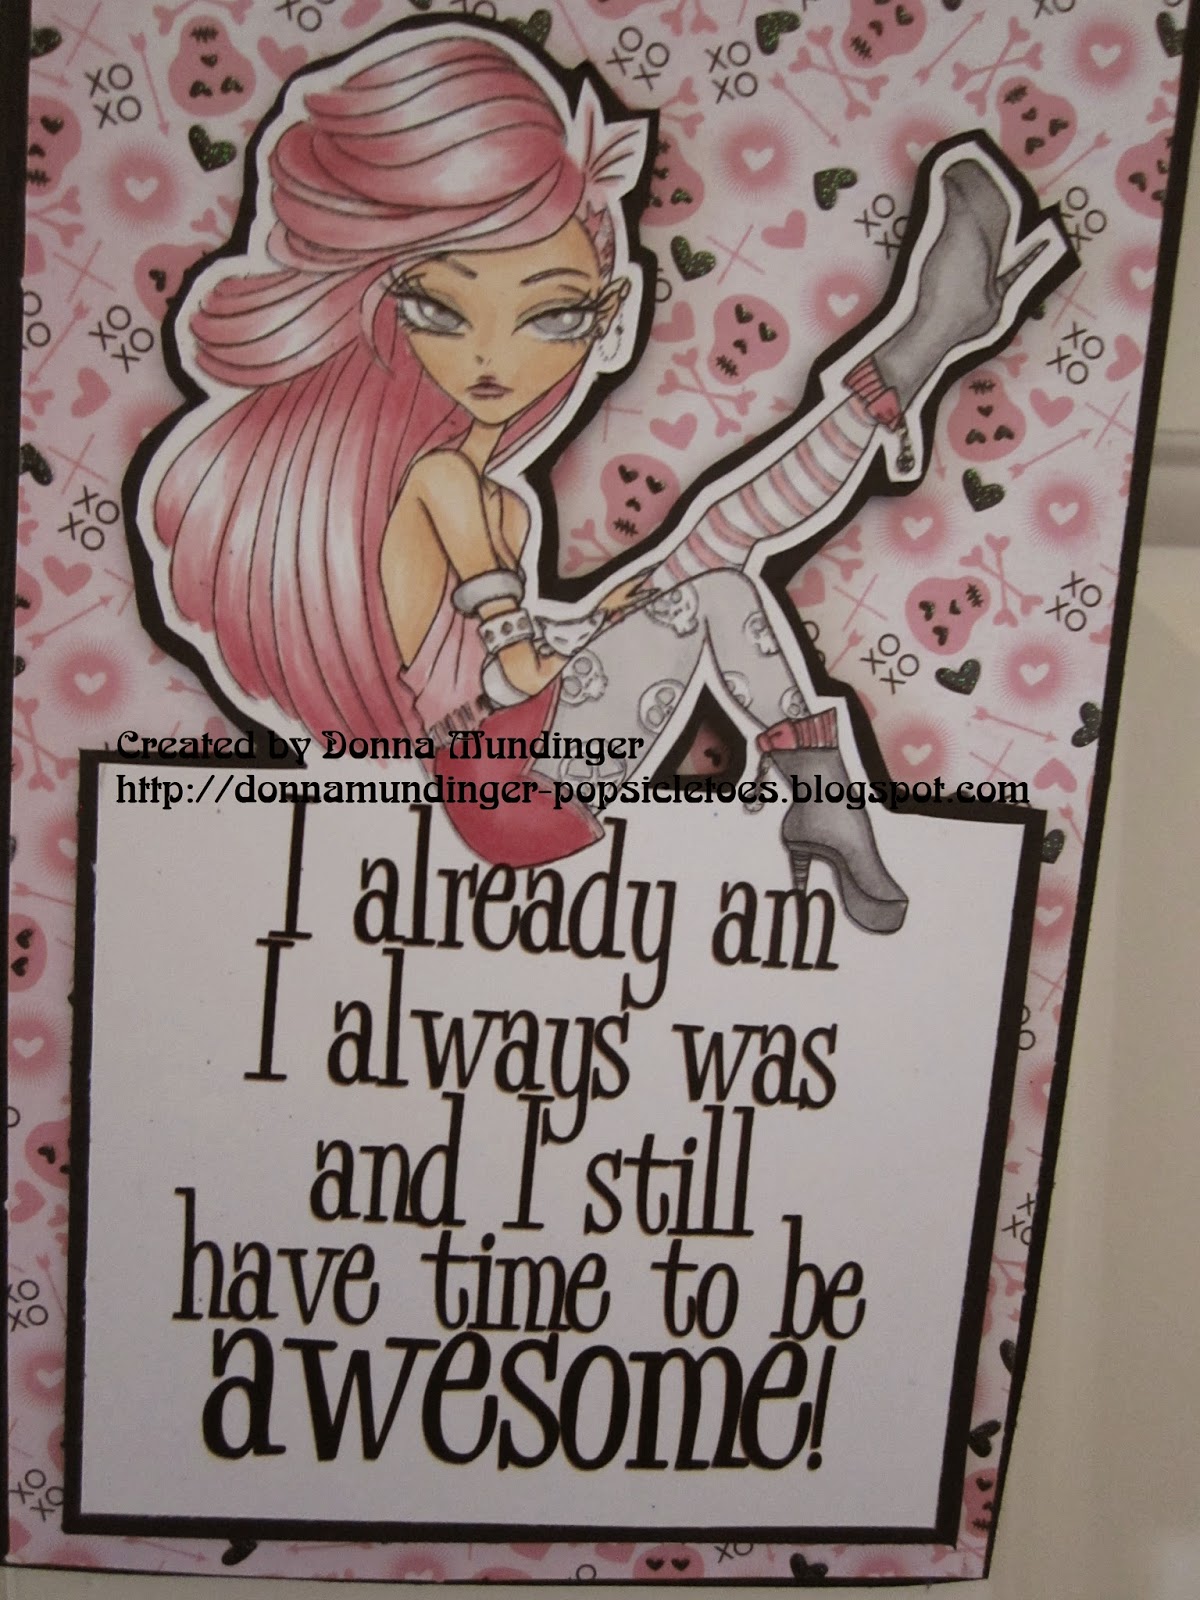
Every Monday and Friday Kyra releases a new digi at The East Wind Shop. Today I'm previewing the newest of one of my FAVE characters, Lucy Loo.  Meet 'Lucy Longstocking'.  This girl's got some 'tude!  I nabbed the fab sentiment from Ginger's House because it fit her just perfectly, sat her right on top and cut her out.  I thought she would make a fab door hanger.


I colored her with Copics in girly pink to enter in the Left of Center Girly Challenge.  The girly skull DP is DCWV.


I've even added girly LOC embellies.  How about that?  A number of my DT sisters have also made projects with Lucy and we've all colored her hair differently.  Isn't that fun?  Come visit the TEW FB group to see them all. 

Oh, and BTW, there's a fab sale going on at the Shop.  Huge discounts in the Now or Never section, available through the end of June.  Get them before they're gone for good!  (there's even a few Lucy Loo's!)

I'm also entering this in the Corrosive Challenge ATG 200 Challenge Celebration, Tuesday Throwdown Wild Hair Challenge, Milk Coffee Anything But a Card and Simon Says Wednesday ATG.

Wednesday, February 26, 2014

My Melancholy Moppet for Lacy Sunshine


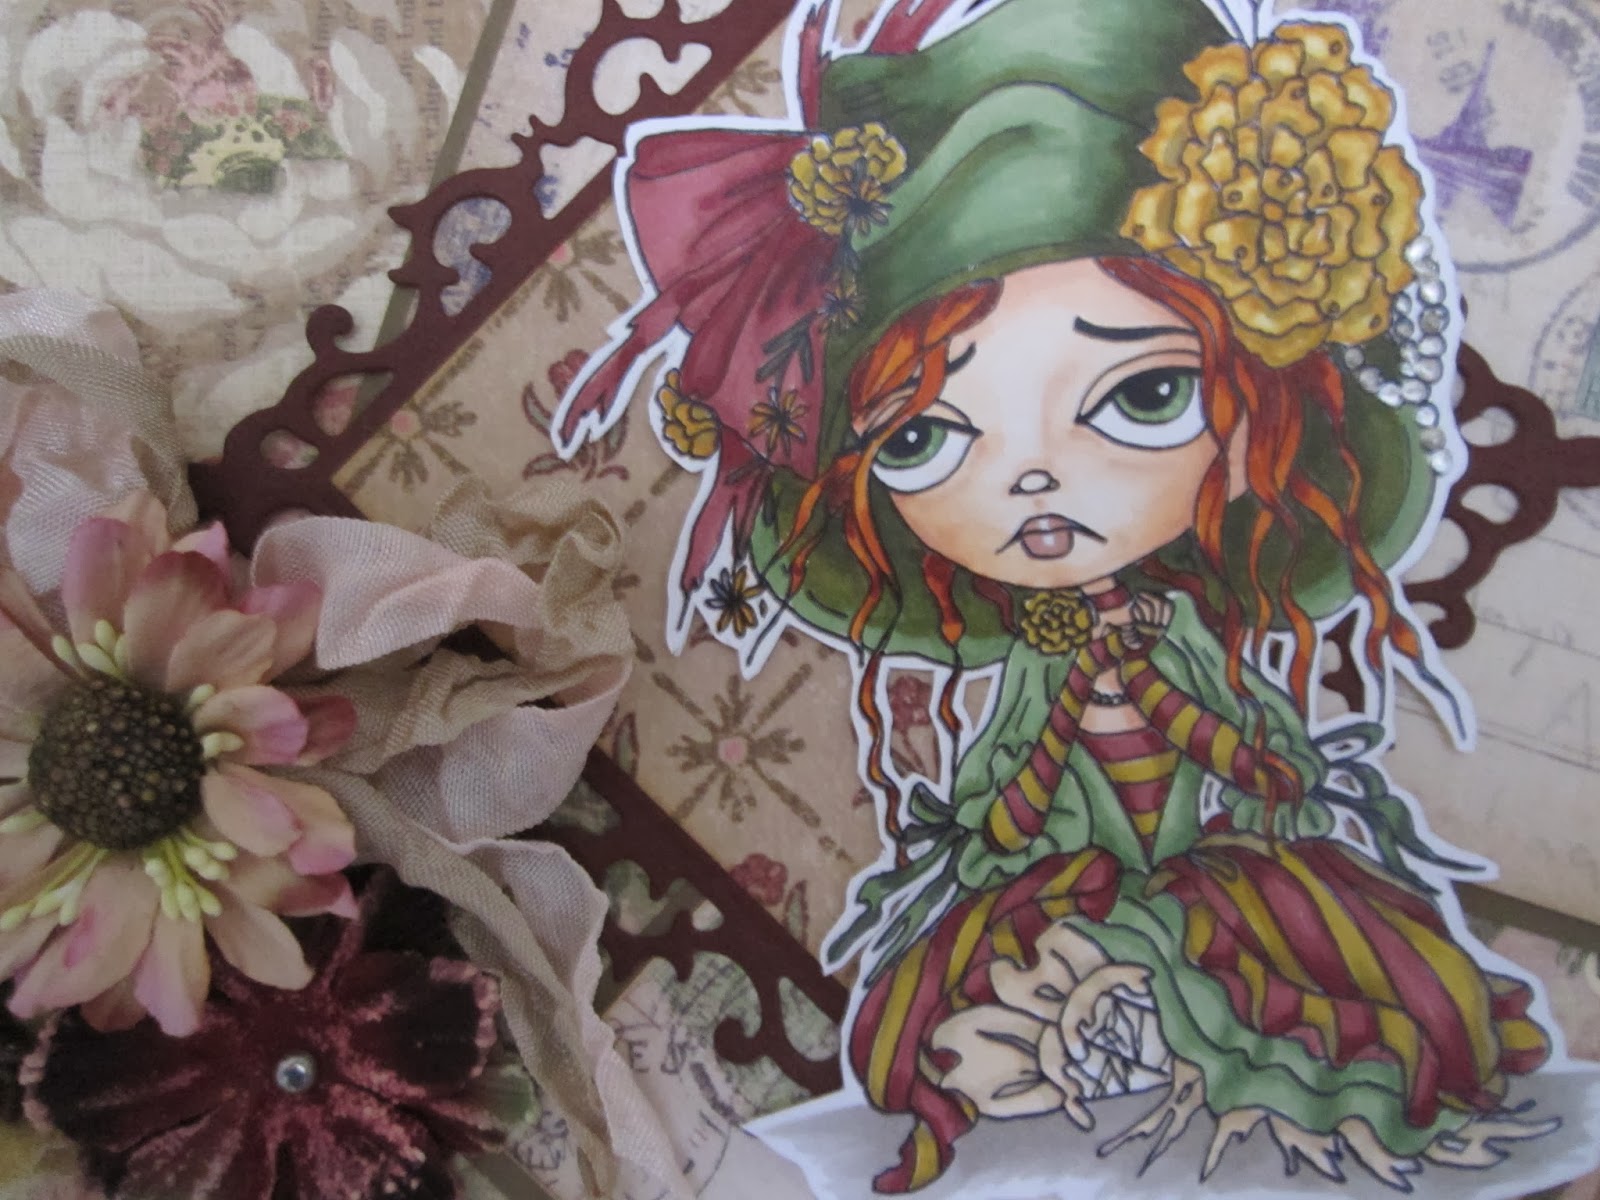
There's a contest going on (through Friday) in the Lacy Sunshine Facebook Group and I had to play along.  You were to use any of the Melancholy Moppets and they are some of my FAVES.  I've chosen Anastasia (scroll down to get yours).  What started out to be a card expanded into a wall hanging.  I'd printed Anastasia a little more than 5.5 " tall and wanted to add Lots of Layers to enter her in the current Lacy Sunshine Blog challenge as well, soo...  I've used my Spellbinders Grand Caliber Creative Book pages for several of the layers and K&Co DP which had the shabby look I was going for.  The gorgeous lace die is from Heartfelt Creations and the lacy frame behind Anastasia is Spellbinders Fleur Di Lis Squares.


Anastasia was so much fun to color with my Copics.  Not exactly Springy colors, but I thought they suited her.  Delved into my stash for the perfect flowers and seam binding to finish it off.  Kinda love how this turned out.

I'm also entering this in the TTRCD ATG Challenge Feb 25-Mar 3, Digi Stamps4Joy Use Dies or Punches, Outlawz Twisted Thursday ATG with the Triple Play Twist (Use 3 of something-3 flowers).

Monday, October 21, 2013

HDH Zombies and Creeps Week 2


It's our second week for our Zombies and Creeps Challenge at HDH and the minions have more fabulous inspiration using the images by the same name from Simply B Stamps.  This time I've used the fabulous Mr. Gibbs Zombie Pirate.  I've watercolored the image and made the fab "burnt burlap" background mat using dual tipped watercolor markers from Tombo.  Read about the process here in my 100 Days of Tombow post.  The striped banner DP is from Authentique edged with MS spider web and Drippy Goo punches.  The skully medallions were a gift from my buddie Margie.


Here's a closeup of the fab image, drawn by Abigail Larson.  It's fussy cut and adhered to back CS and fussy cut again and popped.  The sentiment was hand written and the brains are from our own Minion Sister Creepy Glo.  Visit her Etsy shop HERE and check out HDH for her special discount code (scroll down a bit, ya gotta work for it.  LOL).  The metal skull and crossbones are Tim Holtz.  Hope you're enjoying the best month of the year as much as we are.  Keep those Zombies and Classic Creeps coming.

I'm also entering this in the PunkYouGirl Halloween challenge, Simon Says Monday Spooky, Hiding in my Craftroom Color it, Craftitude ATG/Spooky, Creative Corner Let's Go Crazy and Left of Center (using the LOC Theme).

Thursday, September 19, 2013

Showcasing Christian Count Drac for Simply Steampunk


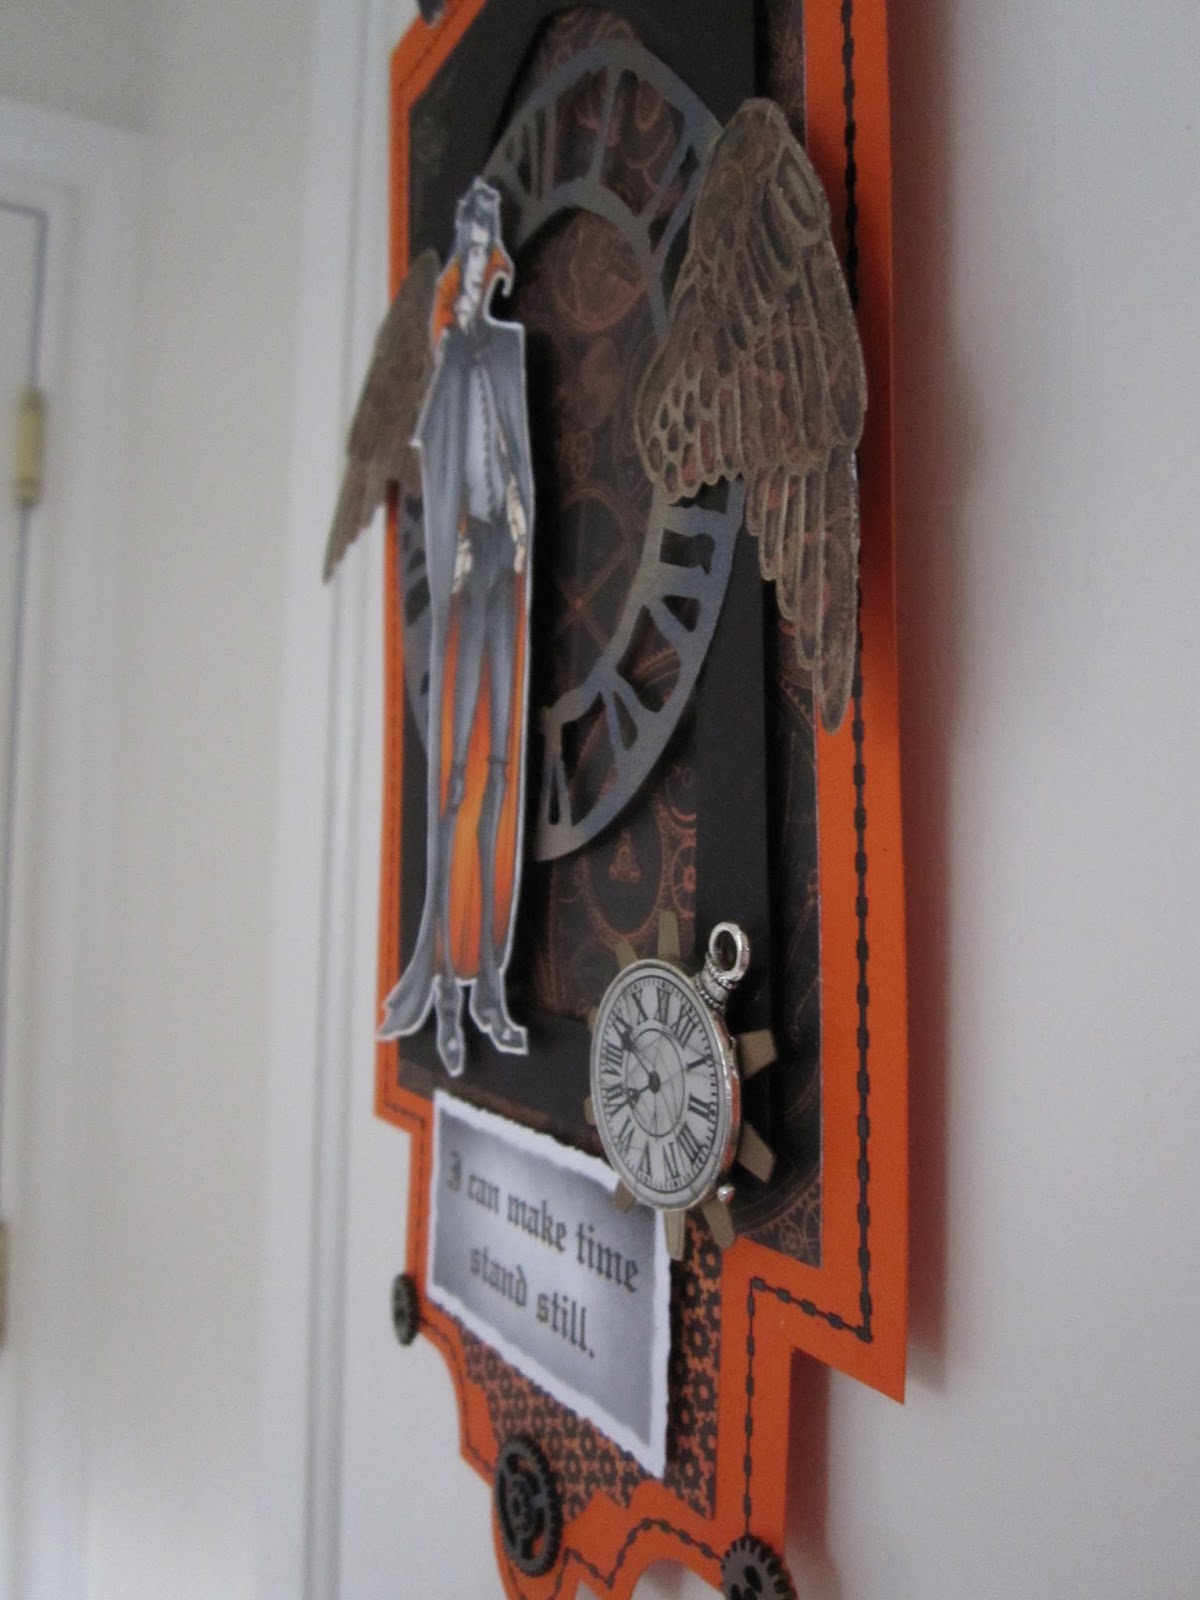
It's my pleasure today to introduce the irresistible Christian Count Drac from the fabulous Steampunk A Robert's Halloween release by artist Abigail Larson, available only at SBS.  I've done a Halloween wall hanging in the Steampunk Style using a number of dies from Spellbinders and Tim Holtz for Sizzix.  the DP's come from the Graphic 45 Steampunk Spells 8x8 pad. 


This handsome guy was colored with Copics in traditional Halloween colors.  I know some of you find these detailed images intimidating (trust me, I know, I collected them for a year before ever taking the plunge) but once you start, they become addictive and so very much fun!  I've rubbed the clock face (Sizzix) and wings (from a Cuttlebug Emboss Plus folder) with several colors of Gilder's paste to highlight the embossing and give a metallic sheen.


The sentiment was computer generated, cut with Nesties and inked with Distress.  I wanted to crush the clock face a bit with a hammer, but it wouldn't crack so I cut the surface with my craft knife and rubbed on black paste (and buffed the surface) to bring out the cracks.  The tiny black border is done with peel offs and I couldn't help but add more of the Tim Holtz mini gears.


The layers are popped for dimension which not only adds interest, but also strength to the hanging.  And speaking of Layers, that's the current challenge on the Simply Steampunk Blog, running through October 3rd.  SBS stamps are no longer required to win, but do keep your project in the Steampunk style.

I'm also entering this at Left of Center using the LOC theme, Tuesday Throwdown #165 Things with Wings, the All Crafts Aug/Sept Anything but a Card Challenge, Artistic Inspirations Anything Goes or Frame ItCrafty Cardmakerss Winged Things, Lady Anne's Must Have Wings Challenge, and Desert Island Crafter's using #1,4,5 and 7.

Monday, May 28, 2012

BBTB2 Garden Challenge

Happy Memorial Day, everyone!  This day always feels like the kick-off to summer fun, but we sure haven't been having the weather here, as of yet.  I see some sunshine this morning, so I'm keeping my fingers crossed.  Is everyone firing up the grill?  At BBTB2 we continue with our "theme" challenge from our fabulous Julia, and this time it's The Garden.  You may choose anything found in the garden, as long as it's cut with your Cricut, and don't forget to mention us (and link back) and let us know what cartridge you used.  We're really enjoying your creativity.  My original project conspired against me.  I planned on using a cart I'd bought in maybe November, but hadn't had the chance to use.  Imagine my surprise when I went to cut and my Cricut didn't budge.  HHHmmm....  If that wasn't bad enough, it was already 1:00 pm yesterday so I had to scramble to design something completely different so that's what you get.
I've made a little garden hanging using the phrase from Give a Hoot.  The tomato is on From My Kitchen and the rest of the veggies from Country Life.  The shadows were welded in DS.  Then, instead of searching for appropriate colored card stock, I cut them all in white and used my Copics to color.  I left the cuts right on the mat to do this and there was minimal bleed through and I didn't run the risk of losing small bits (like the peas).  Then I glued the layers.
By this time I was sort of running out of gas, so my dimension is minimal.  I've popped the mat from the base (from Lacy Labels), the shadow layer and the phrase.  The adorable metal garden tools are from J's and I've had them in my stash forever (teeny buttons too).  So, how does your garden grow?  We'd love to see it.  My DT sisters have some fabulous inspiration for you at BBTB2 so don't forget to leave them some love.

I'm also entering this in My Sheri Crafts Summer Lovin' Challenge as there's nothing I love more than home grown veggies fresh from the garden.  No, I don't grow my own, but that's what Farmer's Markets are for.  LOL

Monday, April 16, 2012

BBTB2 Birthday Balloon Challenge

Did you miss us last week? Hope everyone enjoyed their Easter break, and I certainly hope you had a chance to stop by BBTB2 and get all the deets for our current DT call. There's still time, so if you missed it check it out HERE. But this week it's time for a new challenge. Our fabulously talented DT sister Jeri chose a birthday challenge with BALLOONS! What's a party without balloons, eh? And these may be from any Cricut cart so we hope you have a ball with this one. I'm afraid I interpreted this a bit differently than my teamies, but I've always had a thing for hot air balloons and the fact that I don't think I've ever used my Summer in Paris cart sealed the deal. When I started designing this in DS I had full intention of using the intricate swirly top cut for the balloons and was afraid to go too small so this ended up being really too big for a card (sorry Jeri!) so I made it into a birthday door hanger. None of the cuts (except "It's your day" from Celebrations) had shadows which would be a problem for the design I had in mind, so I made my own. The clouds from Create a Critter worked ok with a little fussing with an 1/8" smaller cut. The balloon shadows, however, were built with welded shapes from George. These were all welded in DS and then the fun began.
After cutting the swirly layers I decided the whole thing looked just too busy with the 3 balloons so I went back to the drawing board and decided embossing was the ticket. I trimmed the ropes from the colored cuts and also a section so I could emboss and pop the baskets separately. Each basket is done with a Stampin'Up folder. The deep orange is embossed with the Daisy Pattern European edition Cuttlebug folder, the tangerine with the Sizzix Bow Strings, and the bright yellow with Happy Birthday from ??? (hmm, have to look that one up, I'm having a senior moment). The cloud embossing was already in the Dotted Swiss paper by Bazzill.

Embellies included Prima flowers, a banner cut from the Carousel Cart and a liberal sprinkling of adhesive pearls.

I have to say, the layering took on a mind of it's own. I really wanted to create real depth and since it isn't a card...well...I guess I got sort of carried away. (I kinda have to say I love it, though. LOL) The rest of the DT has fabulously inspiring projects so pop on over to BBTB2 and have a look see. We're excited to see what you some up with as well, just be sure to follow the rules, stated at the top of the blog and have fun!


I'm also entering this in the My Craft Spot Make it Pop Challenge, and Simon Says Stamp and Show Anything Goes.

Monday, March 19, 2012

BBTB2 Welcome Challenge


We have a very exciting challenge for you at BBTB2 this week. Our fabulously talented Theresa is welcoming you all and inviting you to participate by using the word "Welcome" from any cartridge on your project. In case you aren't challenged enough, she'd love to see a Home Decor project, although that is NOT a requirement to enter the challenge. I have to admit I had a tough time this week. Lots of stuff going on (not the least of which is March Madness and my alma mater MSU is the #1 seed in the West Region this year, as well as the Big Ten champs! WooHoo!) I looked for a cartridge I'd never used and found "Welcome Spring" on Phrases. Seeing that tomorrow is the first day of Spring, I thought it was just perfect. I wanted to make a little door hanger and welded the shadow of that cut to the "snail" cut from Botanicals. Where's the snail? Well, he got sort of hidden with the welding, but I only really wanted the floral border anyway.


Because there is not a lot of detail on the Botanicals silhouettes, I used a Copic to add some shadowing to the leaves and after much head shaking, embossed them with Swiss Dots as well for a little texture. I moved the cut down on the screen in DS and cut it again in white so I could fussy cut the blossoms and pop them on top. I had the hardest time with colors and actually cut the shadow of the phrase 4 times (don't you HATE that?) before deciding on the plaid from Nana's Nursery. Ditto with the words and bird. To give a little more pop to the phrase I ended up gluing 2 of them slightly offset and highlighting them with adhesive beads. My DT sisters had much more success with this challenge than I did, so please pop by BBTB2 and go have a look and find out about our exciting SPONSOR for this week's challenge. As always, our challenge runs for 2 weeks, but this time our winner of the prize will be chosen by Random Org and the POW will be chosen by our hostess Theresa, as usual. You still have time to enter our Bunny/chick challenge as well, so hop to it and don't miss out.

I'm also entering this in the
Sparkles Forum Mother's Day or Spring challenge
Getting Cricky Green, White and One Other Color Challenge

Friday, December 23, 2011

Dilly Beans 3 Images Challenge


Happy Friday! Can you believe it's the day before Christmas Eve? Yikes! Hope you all are more ready than I am. I apologize for being less than prolific the last couple of months, but hopefully by mid January things will settle down and I'll be back in the groove. Here's wishing all of you a fabulous holiday just in case I don't make it back before. I can't tell you how much I appreciate all of your friendship and support. Thank you all from the bottom of my heart and a very Merry Christmas to you! xxx


We're still crafting up a storm at the Dilly Beans Designers and Challenge Blog and this week's challenge is to use 3 images on your card or project. I fell in love with #310 Happy Snowman the minute I saw him with his hands thrown up in the air in pure joy. To me he looks like he is thrilled with winter weather and should be juggling snow balls so I added some wired trim so he could do just that. I also thought Megan's "Joy" (hmm, can't seem to find it in the store but I'm not quite awake yet, LOL) would be the perfect sentiment for my little door hanger. My third stamp is from the Holly Tag and Holly Set. This is a mix of fussy cutting, paper piecing, and coloring with Copics. I particularly love the way his "fur trim" came out. My craft room is such a disaster that I couldn't find my puff pen and started poking around in other drawers. I found a SnowWriter (from perhaps 2 years ago, unopened, the opened one was all dried up) and tried that instead and dusted it with FunFlock so it has dimemson AND is fuzzy. WooHoo! His boots are coated with Glossy Accents and the heart buttons are Alpha Beads.


I treated the images sort of like I do Cricut cuts for layering purposes. They were printed on kraft paper first and I fussy cut them with a border that would show. They were printed again on either DP (these were all from the DCWV Homemade Christmas stack) or white card stock and colored, fussy cut, glued or popped accordingly. Originally I planned on making a card, but this week's Whimsicle Wednesday Home for the Holidays challenge called for a home decor project so I used my Nesties Grand Lables Four to make the hanger instead.There's more fabulous inspiration on the Dilly Beans Challenge Blog so go take a look and if you have a moment to yourself this next week, come play along.


And WOW! Craving Dilly Beans?


Need a last minute Christmas gift (for yourself maybe) or perhaps something to do with the Christmas $$ you received? Check out the fabulous deals in THE STORE now through December 31st.


Sunday, October 30, 2011

Heinously Haunted Houses


It's the day we've all been waiting for! The Masterful Mistress and the Minions wish you a fabulously safe and spooky Halloween! Our challenge this week at HDH is Heinously Haunted Houses and there is a fabulous prize pack being offered by the Mistress herself so let's see some spooky stuff. I've merged two digi images from Make it Crafty, the Spooky House and Spooky Graveyard. I've colored them with Copics in neutral tones and used my Nesties Grand Creative Book Pages to cut both the image and the scalloped base. The hanging handle was cut with Nesties labels Ten and threaded with a hand cut banner. "Welcome" is spelled out with letters from the QuicKutz Haunted Mini Alphabet that works in your Cuttlebug, Big Shot, or Grand Caliber using the same sandwich you'd use for your Nesties. the entire piece was inked with Distress in Pumice Stone, Brushed Corduroy and Black Soot. The Minions will be taking a little break from our regularly scheduled challenges for the rest of the year, but you never know what might be brewing at HDH, so don't be strangers. In the meantime, go have a look at the fab inspiration HERE, and don't forget Wicked Wednesday when Creepy Glowbugg posts the winners and her amazing creation.

Monday, October 3, 2011

BBTB2 Create a Critter Frog Challenge


Finally, eh? This week the BBTB2 challenge was chosen by our DT sister Carri, who picked the frog from Create a Critter. I have Halloween on the brain so I did a themed wall hanging. The witch's hat and cauldron are from Mini Monsters. All shadows were welded in DS and the layers were popped with enough foam that a chipboard base wasn't required.


The frog is embossed with the Cuttlebug Tiny Bubbles and the cauldron with Swiss Dots. I cut the cauldron multiple times and trimmed them so I could layer the rim. I also resized the cauldron bottom to create a sort of decoupage effect.


The rosette is done with a Tim Holtz die. Not to self: avoid glittered paper as it doesn't want to crease and has a tendency to tear. I reinforced a few of the folds with tape and copy paper and popped a cute little Sandylion spider on top. the star is actually a charm from Making Memories that I've cut the loop off of.


Open the ribbon and there's a surprise. I've layered the cauldron with the card feature so it opens. The sentiment is from Mini Monsters as well. I know this froggie doesn't look wicked, but I just couldn't resist. This particular sentiment is part of the witch's hat family of cuts. I just trimmed off the hat so it would fit. The entire hanger measures 11 1/2 inches, not counting the ribbon so it's pretty substantial. My teamies at BBTB2 have outdone themselves on this challenge so hop on by and take a peek. As always, the challenges run for 2 weeks. We want to see "new" projects only and please link back to BBTB2 so others can join in the fun.. If you haven't the particular cartridge featured, you may use another similar cut. You know the drill. Can't wait to see what YOU come up with.

Thursday, July 21, 2011

TOFF Tell Me a Story Challenge


Okay, so could I be any later? The new challenge at TOFF is up already and here I am. I couldn't miss it though so... I have to admit I'm an Octopode Factory junkie. Seriously, Lily could retire at age 17 on what I've bought from her store. I love each and everything she does and my biggest probelm with her "Tell Me a Story" challenge was deciding which images to use. Then Dh wanted to go out to lunch. Hmmm...he's leaving on a 4 day backpacking trip so...I'm late AGAIN! Obviously, I've used the Octopode Factory Wizard of Oz images along with Whimsicle Dream Castle and Somewhere Over the Rainbow. I collected and read all of the Oz books as a child and still have them. I used the Spellbinders Grand Labels Four to make a wall hanging.

The special sentiment is spelled out in Alpha Beads and a button heart. The yellow brick road is a freehand cut, embossed with the Tim Holtz Bricked folder, and some doodling.

There's a bit of dimension too. The TOFF challenge this next week is Spots and Dots. I hope to do better with the time factor, but sometimes there are not enough hours in the day. Still happy to have completed it, though. Octopode is a fave of my BFF. This one's for you. xxx

Monday, June 6, 2011

BBTB2 Clouds Challenge


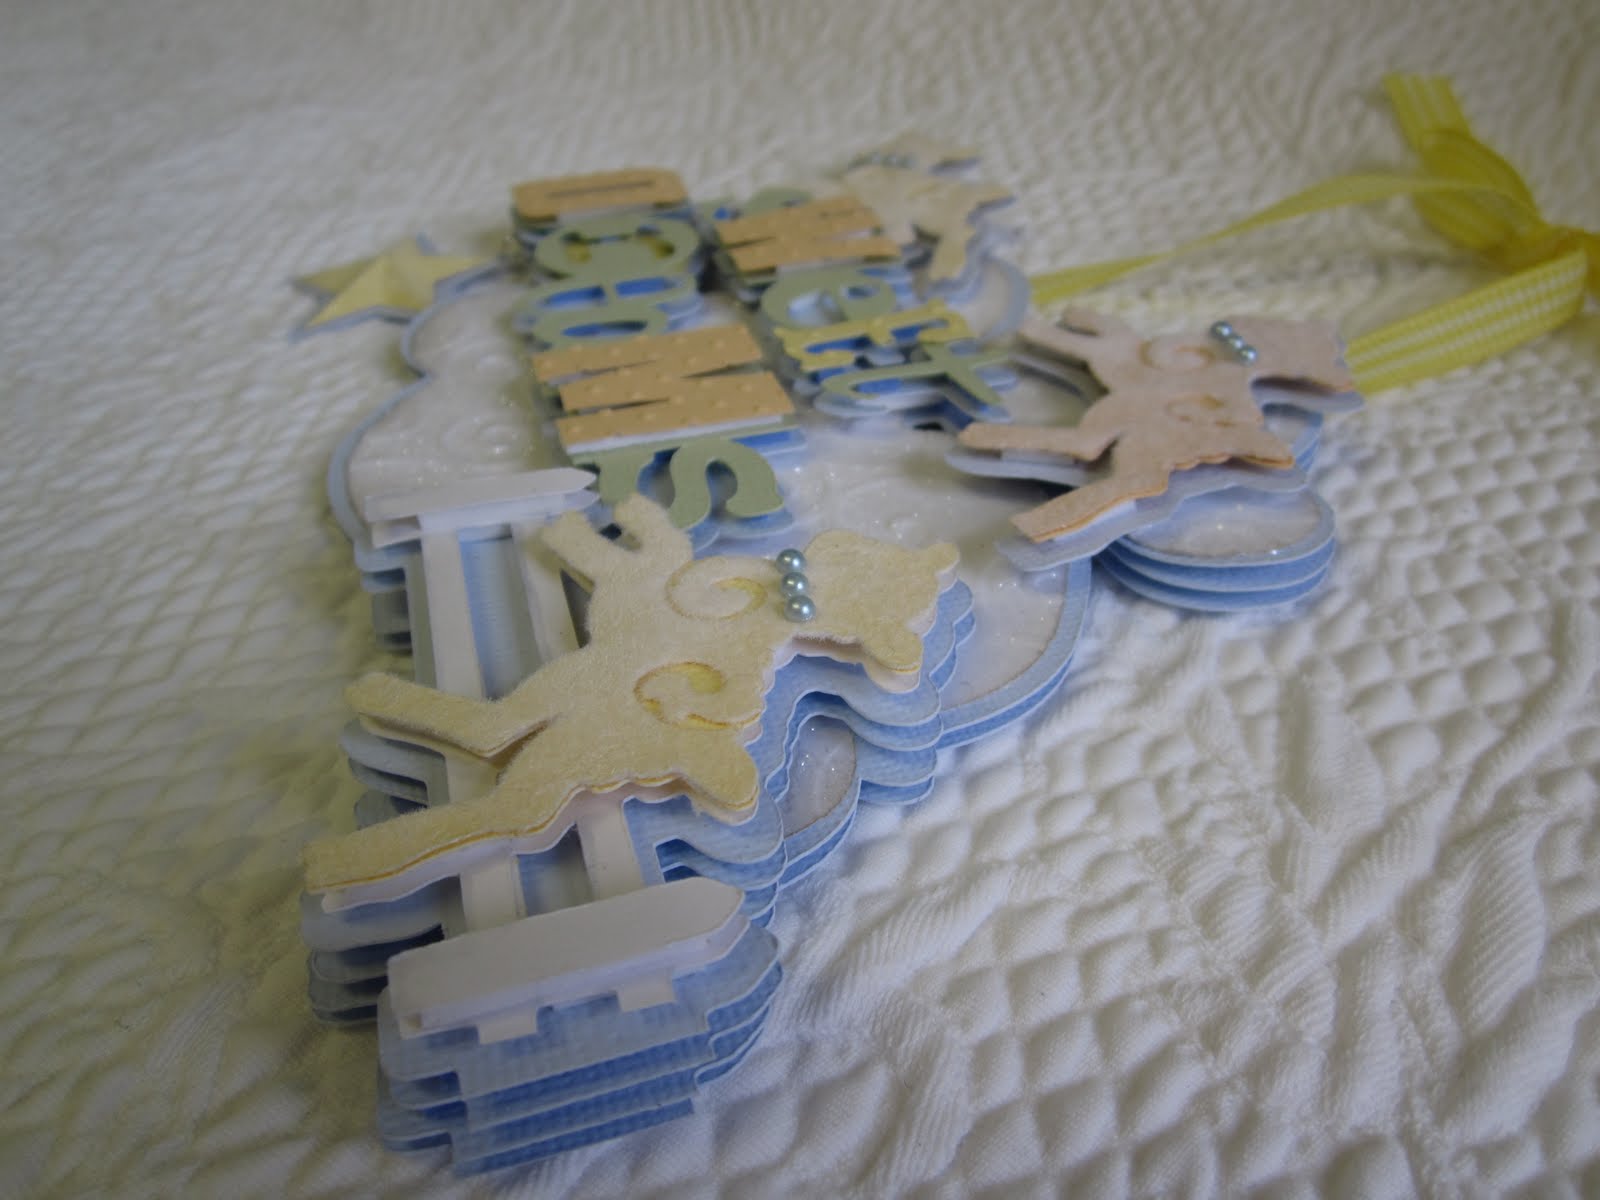
This week our fabulous Shelly chose the clouds from Pooh and Friends for the BBTB2 Challenge . Well, we're no strangers to clouds out here in (sunny? I wish!) CA since that's all we've been seeing lately. Who stole our weather? Shame on YOU! Sit back with a cuppa now, 'cause this is gonna be one long post. Not nearly as long as it took to make the darn thing but... Anyway, I immediately had an idea for this challenge but it proved to be a little more daunting than expected to design because of the fact that the clouds came in pairs (and had no shadows) so there was a lot of resizing and hiding contours to weld the base of this door hanger together. Although it's perfectly okay at BBTB2 to use another cartridge with clouds, I figured that since I own the chosen one, I was gonna go with it. I inked the clouds, ran them through the Xyron right side down, and covered them in MS coarse crystal glitter. Then I ran them through my Cuttlebug with the D'Vine Swirls folder for added texture. If you've covered your cut completely with glitter, it doesn't stick and actually helps adhesion, and any glitter that remains on your folder just rinses off. The three cloud shadows were welded in Design Studio to the shadow of the little lamb jumping over the fence (which I flipped). That cut comes from Wall Decor and More but had a much longer fence that I had to trim off by hand repeatedly for the layers. OOps! I just noticed on this top pic that the little lamby on the left has fallen down a bit. That foam doesn't like to stick to glitter. All fixed now.

Next problem; although the sweet little lambs have individual layers, they have no shadow if you want to use them individually, so if you want one, you have to cut the border feature and then hand trim the fence off to get a shadow. I know I'm kinda anal about shadows, but the lamb didn't show very well against the clouds without one and they are very important to me for layering purposes. I cut each lamb twice, with the swirly cutout and without, in the same color and then flocked the upper layer in white which softened the colors of the card stock and made them all cute and cuddly. "Sweet Dreams" is also from Wall Decor and More and WooHoo! it has a shadow, but no individual layers for the letters, so I cut the phrase out several times in various colors and again hand trimmed and embossed with Swiss Dots to get what you see here. (There is a font on the cart, but many of the individual letters do not match up with the phrases. The "E" actually does, though)

As I assembled the hanging, I realized that I needed to balance the right lower side so I added a star from George and Basic Shapes. I poked a hole through the shadow and one of the layers of the "D" and hung it from a jump ring. The dimensional star was made by scoring from tip to indent, all the way around and mountain folding from tip to center and valley folding from indent to center. I folded first, then ran it through my Xyron and used MS fine crystal glitter so the card stock color would show through. After folding again, I attached it with one of those big globby dimensional glue dots.

As you can see, there are lots and LOTS of layers on this one and although it was a real PITA to make I totally love it and was glad I persevered. After the several days it took to complete, however, I was too exhausted to finish my Macabre Monday project, so you'll just have to check back on Wednesday for that. However, if you're craving something creepy after all this fluff, scroll down to see my offering for Skull Appreciation Day and if you're interested in hopping, it goes through Tuesday so you still have time. Be sure to stop by BBTB2 and see the fabulous designs by my DT sisters and remember you have 2 weeks to complete the challenge and any cloud from any cart will do.