Thursday, February 3, 2011

An Adorable Freebie From Peggy Loves Vintage!


Looky here! Peggy has done it again, offering one of her adorable vintage images ABSOLUTELY FREE on the Peggy Loves Vintage Blog. So why are you not a follower? Not only does Peggy offer wonderful freebies, but it's THE place to go for info about specials on her CD's and Cut Outs. Nobody does vintage like Peggy! Anyway, in the middle of the night I had a bit of insomnia and of course did some blog hopping. I snagged Peggy's adorable image and when I went back to bed, all I could think about was how am I gonna use it? Just before falling back to sleep the idea of an envelope on the front of the card crossed my mind and I fortunately still remembered it when I woke up. I used my Crafter's Companion to make the little 3x4" envie which was the perfect size to fit on this A2 card. I embossed the portion of the card front directly with the Heart Blocks Cuttlebug folder. The Lattice Border is an MS punch embossed with tiny hearts from the Cuttlebug Love Language Card Making Combo. The envie insert is from the Cuttlebug Embossed Tags Emboss Plus folder (trimmed a bit) with a computer generated sentiment.


The sentiment fits into the little front envelope which folds down so the whole card still fits into the regular A2 envie and when you pull out the card, it pops open a bit to reveal the contents. The tiny hearts used both inside and out are a $1 punch from M's.


Inside I repeated the lattice and added the postage stamp cut and emboss folder that I got free with my Cuttlebug. I don't do many A2 size cards, but I love how this one turned out! Now don't you want to go check out the Peggy Loves Vintage Blog? And while your at it, check out the fab CD's and Cut Outs available on her Web, Etsy and Ebay stores. Valentine's Day has never been easier.


Now David and I are on our way to Post Ranch Inn in Big Sur for a little R&R. No tv or internet, but a beautiful place with gorgeous surrounds and YUMBO food. On Saturday morning I'll be back to post the winner of the BBTB2 Blog Candy so be sure to return to see if you've won, and if you haven't already commented, there's still time, so please scroll down.


And announcing DANIEL MICHAEL CALENDA, born (finally) at 2:40 AM EST today. Danny Boy is the 5th grandbaby (4th boy) for my dear friend Margie (Bella Bug). Congrats, Margie! You're working on a baseball team, eh? Now get some sleep, it's been a long 2 days! BTW, I just talked to Margie on the phone and she said it was ok to post this. Didn't want to steal her thunder. LOL

Wednesday, February 2, 2011

Bah! Humbug! An Oldie but a Goldie Challenge


Phew! Okay, that's a much better background. All that pink was a bit obnoxious and made me a bit nauseous. Looks a bit better with this week's Bah!Humbug! challenge too, which is An Oldie but a Goldie, you know, use some old neglected bits from your stash (and I have TONS!) I knew immediately I wanted to use my K&Co Christmas Cheer paper AND embellies which I loved so much in 2008 that I bought at least 3 sets of EVERYTHING. (and today I STILL have almost 3 full sets of everything). I'm a bit of a hoarder of things I'm particularly fond of... I decided upon the gold holly DP (get it? oldie but goldie, LOL) and cut 3 small squares across the top mat with my Nesties. I added 3 of the gorgeous dimensional medallions, some ribbon, and WOOHOO! simple but I REALLY love it! So much so, that I didn't even think it needed an additional sentiment. (the middle medallion says "Peace" after all.)
All I did was pop the frame and manage to tie that loopy bow AROUND the ribbon strip with the help of my Bow Easy. (Didn't even look at the instructions!) I'm finally getting the hang of that sucker, eh Marlene? So I'm wondering where all my buddies who said they would start participating in the Bah! Humbug! challenges are hiding. You KNOW who you ARE. Get moving! You'll thank me come Dec.

Tuesday, February 1, 2011

The Cuttlebug Spot Tri-Fold Card


This is my second post of the day, so please scroll down for my Tiddly Inks card, and don't forget the BBTB2 blog hop (in case you missed it yesterday. There's candy involved.)


All month at The Cuttlebug Spot we'll be focusing on card folds. This week it's tri-folds and because it's fast approaching, we're to make one with a Valentine's theme. When Googling tri-fold cards I came upon a number of different styles but I finally settled on a "Swing" tri-fold. I've made several of these before and followed the video HERE to do it with my Cuttlebug and my Nesties Scalloped heart.


I wanted an unabashedly romantic, vintage style Valentine and needed a larger folder to emboss the inside mat and found these gorgeous roses and birds in the Cricut Companion Rock Princess Cuttlebug set. The center of the folder has the word "Rebel" on it (which may be appropriate, but wasn't exactly what I had in mind for the card) so I made sure when I placed the mats in the folder that the hearts would cover that part. A little note on the front mat. If you choose to have one, you should use removable tape to tape it in place on the front of the card before cutting it with your Nestie for a perfect fit. the Nestie easily cuts through the two layers. Then you can remove the colored mat for embossing and permanently adhere it later. (Hope that makes sense)
All sentiments are computer generated and the pink hearts (also Nesties) within the scalloped ones are popped for dimension. The label is cut and embossed in one step using the Cuttlebug Emboss Plus Fanciful Labels folder (LOVE it!) and adhered half way to the left of the front of the card only, so it will swing when the card is opened as well. The little dove on the front is a MS punch. As you can see, when the card is opened, the heart swings over. Don't you just love a card with a little movement?
Fully opened, the rest of the sentiment is revealed. All it needed were a few adhesive pearls. Yikes! It certainly is PINK, isn't it? and so's my background! May have to change that, but for the moment, I wanted to get the message out. Well anyway, you'll be amazed at the variety of tri-fold cards the DT has made for this week's challenge so be sure to check them out HERE and we'd love you to play along to win a $20.00 gift certificate to Custom Crops. (You need to make Valentine's anyway, don't you?) xxD

Tiddly Inks Kiss Me You Fool Challenge


This week our challenge at Tiddly Inks is Kiss Me You Fool. Our designs must include an image kissing or the word kiss in the sentiment. There are many adorable Tiddly Inks images I thought about using for this challenge, but I finally decided on Froggy Thoughts (a super bargain at only $1.00) which not only has a cute frog prince, but many fun froggy sentiments as well. I'd just been creating a card with my Cricut using the Love Struck cartridge and I noticed the "Kiss" cut and thought it would be perfect as a base for this challenge. I think many crafters who use the Cricut never think to combine them with digi stamp images, but I think it's a fun way to expand one's crafting horizons and make a truly unique card. I created the shaped card using Cricut Design Studio.
I printed the frog prince 3 times on designer paper and because it was paper, not card stock, I glued the images to card stock for strength before cutting them out. I printed it out one more time on plain white card stock so I could color and fussy cut the crown. Paper piecing is an easy way to add color to the image without the use of markers or pencils. I popped the front feet and and then the head to give a him a 3D look and added lidded google eyes (made by Darice and found in the kid's craft area at J's). The cute sentiment was cut with my Nesties labels 11.

Here you can see the dimension of the whole card. Isn't it cute? I used fun Spring colors because I thought it could work for occasions other than Valentine's Day as well. For more inspiration be sure to visit the Tiddly Inks Challenge blog and check out the Tiddly Inks Store to see the fun new images for Valentine's Day and more.

Monday, January 31, 2011

BBTB2 Love Struck Hearts Challenge and Blog Hop!


I can't believe we're almost through with January, but happy to finally be back to our end of the month Blog Hops at BBTB2. You should have arrived here from the wonderfully talented Shelly's blog, but if not, you may wish to start HERE, at the beginning, so you don't miss a thing. My super sweet and oh so talented friend and DT sister Maria chose two of the hearts from the Love Struck Cartridge and really wished for a layout, but was kind enough to allow us non scrappers (who me?) the option of making a card. I knew immediately what hearts I wanted to use. Scroll down 2 posts and you'll see why. I can't believe I hadn't cut them before.
The card has a shaped front which as usual, doesn't really show in the first pic. All is welded in Design Studio to the welded rectangle from George which I pull and skew until it's the right size. The front sentiment comes from Wild Card. Since "Wild about you" comes all together as a cut, I had to hide the contours of the rest of the phrase to have the "Wild" and "about" be different sizes and placed how I wanted them on the card. Let's just say it took me awhile to design this one, but I'm quite fond of it. I'm hoping a certain someone is too. HeeHee!
This one turned out to be FAT, even for me. the "U" actually ended up having a full 6 popped layers! I make my own adhesive foam using Fun Foam and double stick tape in loads of colors and cut it myself so the dimensionals aren't so distracting when viewed from the side.
And lo and behold, I even finished the inside! the dotty paper is Bo Bunny. I used small clear epoxy letters from J's and backed them with little punched circles (so they'd show up) for the "so let's" and also for the "I'm" on the front (which you can barely see because of the glare.) "Go wild" is from Straight From the Nest. Sometimes it's difficult to do an inside sentiment on a shaped front card without it showing from the front, but I placed the large heart and hugs and kisses (from Wild Card) exactly behind those on the front and the rest of the front elements hid the the slight run over of the sentiment. Of course it wouldn't be complete without some little metal adhesive hearts and the ever present adhesive beads. Now hop along, but not before leaving a comment for a chance to win a $30 gift certificate to Custom Crops. Next up is the gorgeous and super talented Julia so enjoy!

Sunday, January 30, 2011

Haunted Design House Macabre Monday Angels and Demons


Our challenge this week for Macabre Monday is Angels and Demons: use angelic images or products and creep them out as only HDHer's can. Our sponsor this week is The Angel Company, offered by none other than the Macabre Mistress herself. I must say, I was blown away by the quality of the card stock and DP from this company; gorgeous colors and superior weight and texture of the card stock and the coordinating ribbons and die cut tags, etc are really fab. All of the paper products I used in my design are from The Angel Company Winchester collection and although you can barely see it, I also used the Edge Design Stamp Set on the vertical blue strip on card stock. Really cool set, though.

The digi image is Angelika, one of the Devil Dolls from Stamp Insanity. She's colored with Copics and the semtiment is computer generated on one of the die cut tags from the Winchester Collection. I used the sketch by Lynn from Cute Card Thursday and will be entering this in the challenge there as well. All of the Minions designs use the fabulous products from our sponsor so be sure to check out Haunted Design House for inspiration and see what what you could WIN if you play along! (You know you want to!)

A Little Sneaky Peeky


Sorry, no new project today. I've been a busy gal trying to get all my DT stuff done but I do have a little sneak peek of the inspiration for my BBTB2 card for tomorrow. We're resuming our end of the month Blog Hops so you won't want to miss it. Here are a few pix of the zebra stuff all over our house. Starting with the mosaic zebra in the entryway.
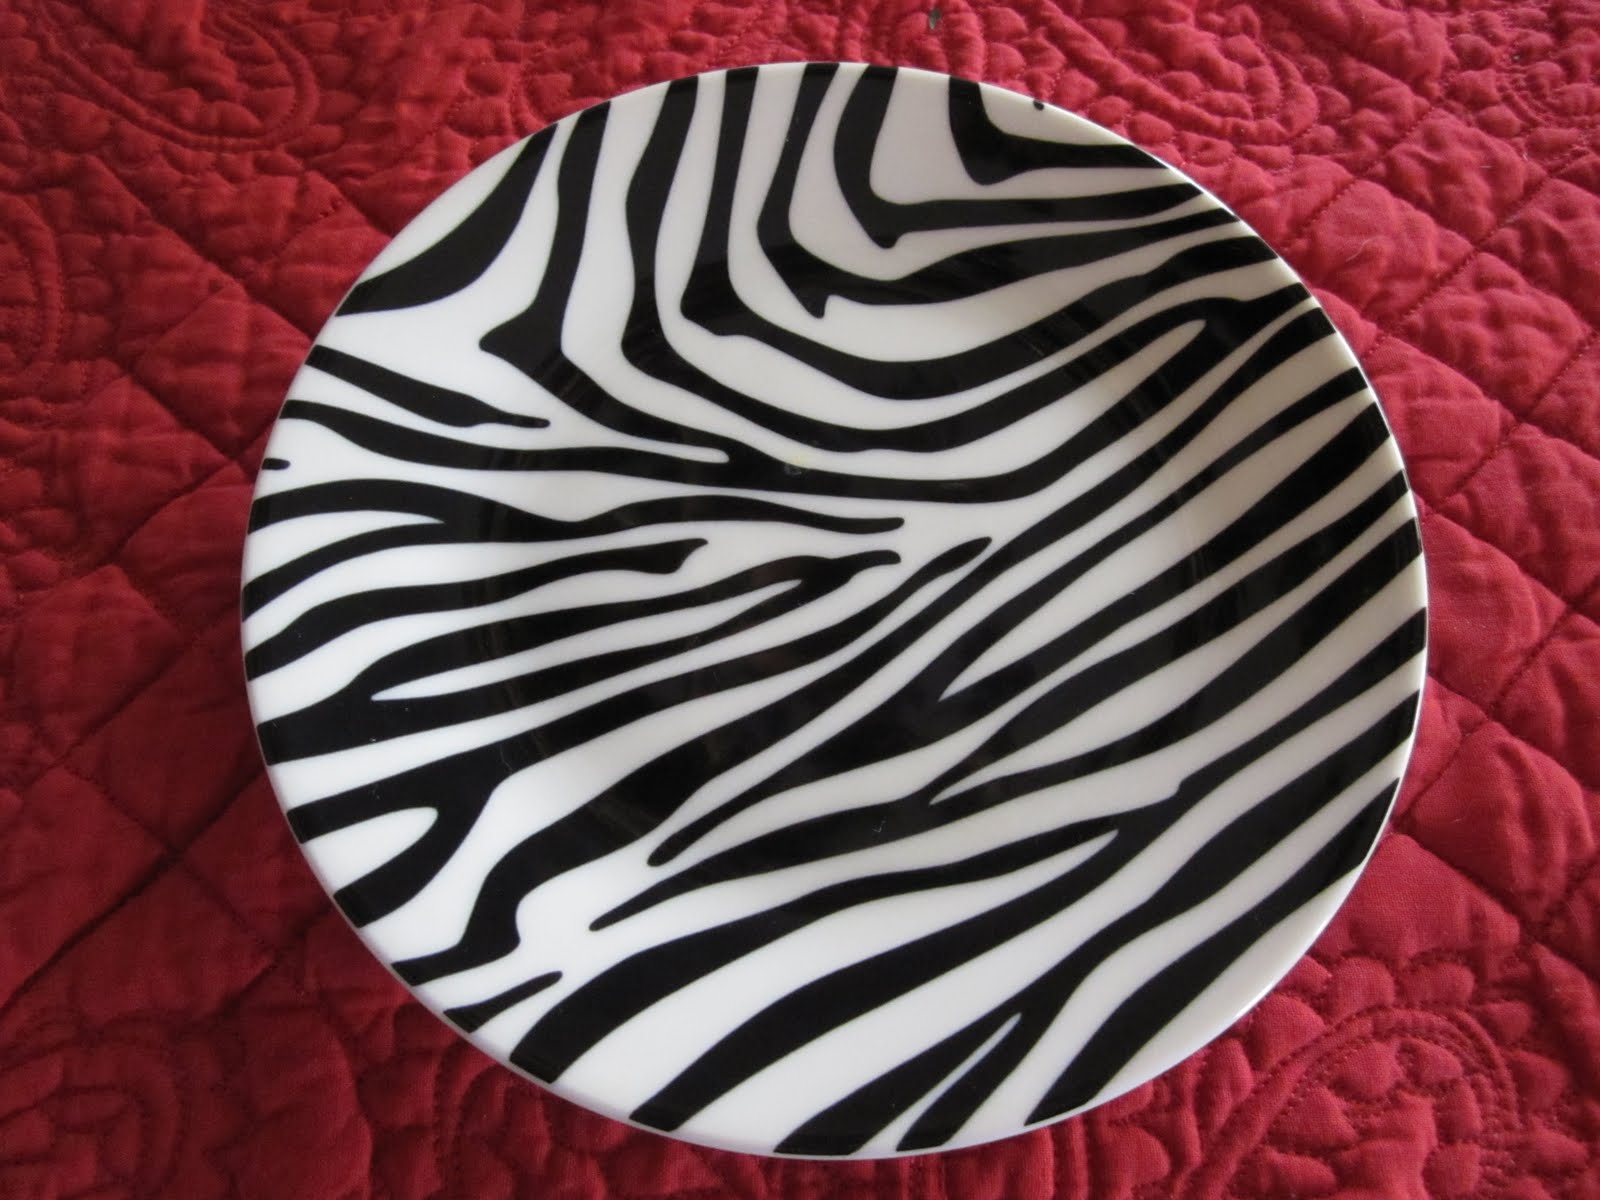
Zebra canape plates
Zebra towels
Zeke, the 6ft tuxedo clad zebra that started it all. (Yes, he dresses up for all major holidays) And BTW, he's on roller skates.
And finally, the zebra rug. Does any of this pique your curiosity?

Thursday, January 27, 2011

Tiddly Inks Clock


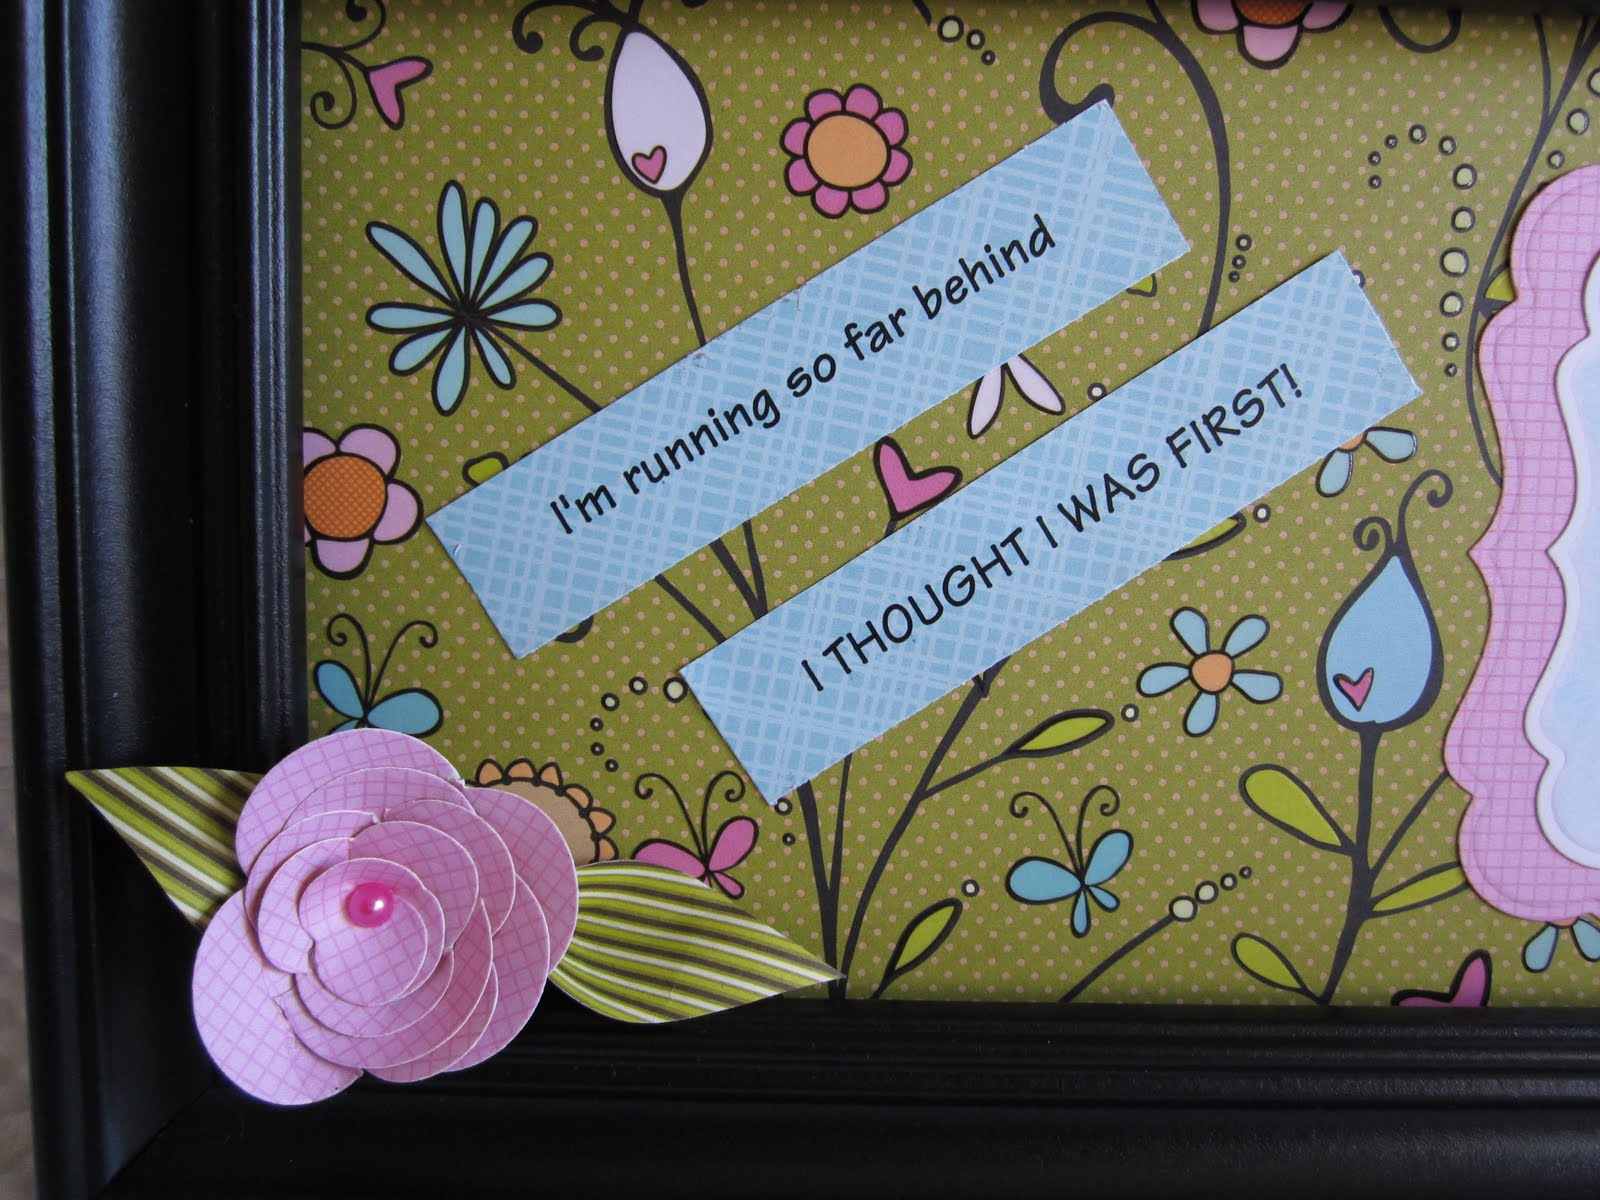
My project for Tiddly Inks this week actually started last week with the Just Be Me Challenge. While perusing all of Christy's adorable images looking for something that fit, I came across Time Will Tell. Time seems to be getting away from her and that's exactly how I've felt since maybe October. I had a tough time with a layout however, and eventually put it aside for a future date. Then I came across a quote on the sidebar of Disney Dreamer's Designs (Melissa's Blog) that made me LOL. SOOO ME and perfect with Time Will Tell! I've only modified it slightly and decided to make a little clock to hang in the craft room and keep me on track (yeah, right!) Well, at least it will keep me smiling. The frame is a little $3.00 number from Walmart, the only one I could find in the right shape. The DP is Heidi Grace.

I've colored Time Will Tell with Copics (notice she has red hair) and cut her out and matted her with my Nesties Labels Seventeen, then inked with Distress Inks in Tumbled Glass while she was still in the die. I used my Cropadile Big Bite to punch the hole for the clockworks (several times to make it big enough).

Here's a better view of the sentiment and the little embellie in the corner which is a Dienamics Die from My Favorite things. The leaves are hand cut. This is definitely one of my favorite quotes right now which fits right in with the current Quote Me Challenge at the Tiddly Inks Challenge Blog and there's still loads of time left to play so why not take a look.
Edit: WooHoo! Hot off the press! There's also a fab new release at Tiddly Inks that includes these adorable images and check out Fabulous Inky Friday for even more creative inspiration!

Wednesday, January 26, 2011

Bah! Humbug! Christmas Cracker Challenge


This week at Bah! Humbug! the challenge is Christmas Crackers. How fun! Wish that were more a tradition in the U.S. because I just love the idea. Sets a festive table, for sure. As usual, my worst dilemma was choosing paper. I wanted to make an elegant cracker (like the fabulous one offered as a Spot Prize this week) that would look pretty with my Mom's china. Then I remembered the gorgeous Linen Pack I'd won as a Spot Prize from the lovely Humbuggers last year. OOOh, it was tough to cut into. I'd been hoarding it for months but I dare say it was exactly what I was looking for. Not much else needed, just some ribbon and peelie borders to finish it off.

And of course a little Christmas greeting, UK style. Thanks again for my lovely prize, ladies. As you can see I'll be putting it to good use. And carry on, Carole and Ann. Fabulous work! Hope Max and Irene are on the mend, though. I miss you both. xx

Tuesday, January 25, 2011

The Cuttlebug Spot Be Inspired Challenge


If you've been following The Cuttlebug Spot this month, you 've noticed each challenge was to "Be Inspired". This week is no exception, with the inspiration being a magazine ad. With all this crafting going on, I've let most of my mags expire but I did find a copy of Architectural Digest which saved the day. (Not much goin' on in BonApetit, I must say). My interpretation is a bit feeble, but I did manage the colors (sort of) and was able to use another of my Cuttlebug Emboss Plus folders called Perfect Perennials. I cut using kraft card stock and went over the embossing with my Copics. Behind the cut out I used Birds and Swirls. The butterfly is an MS punch and the "Thank you" is from the With Gratitude Card Making Combo. I added a few Prima flowers and some adhesive beads and that was it. Pretty simple. Now go have a look at the creative designs by my teamies. We hope you'll be inspired to play along.

Monday, January 24, 2011

BBTB2 Butterfly Challenge


This week at BBTB2, the lovely Lori chose the beautiful butterfly from Once Upon a Princess. Who knew? and it's a great one too with all kinds of fabby layering. This is actually my second design and second attempt at cutting the second design because I just couldn't make up my mind what to do (and the cuts I did with yellow black and orange turned out looking more like Halloween than the monarch and swallowtail vision I had originally. Not that I don't love me some Halloween, but...) Anyway, this isn't a card but possibly a wall or door hanger. Maybe I'll even frame it so I can gaze at it when I'm feelin' the need to fly away. The base shape is also from OUAP and Fly is from Straight From the Nest. All of the butterflies are welded to the word using Design Studio. I finally settled on a color scheme from the gorgeous background paper from the Jubilee stack from K&Co.

Loads of dimension here, as you can see. I'm never really happy doing flat things. At the last minute I decided to give them antennae so out came the wire.
I wasn't quite sure how I was going to layer up the butterflies either, so I cut them in all of the colors so I could have lots of options. And of course, the pearls... Now remember, if you don't have Once Upon a Princess you may use a butterfly from ANY cartridge (and we all know there are TONS!) so you have NO EXCUSE not to play along. Check out the fabulous inspiration pieces by my DT sisters HERE and have fun!

Macabre Monday Smudgetastic Challenge


It's another Macabre Monday and his week the newest member of the Macabre Minions, Andrea, is strutting her fabulously creative self by allowing the team access to her amazing personally drawn digis. WooHoo! We have a Smudgetastic (Andrea's blog name) challenge that requires you to use charcoal, pencils, chalk or whatever you can smudge when coloring your work (similar digi techniques allowed). Before I ever started paper crafting, my DH gave me charcoal pencils and a sketchbook to encourage my creative side and I did zip with them. Amazing I could actually find them, but I did and what better way to use them than to color Andrea's fab Bat Face.


She's cut and matted with my Nesties Large Octogons. The EK Success border punch was glittered by turning my card stock upside down in my Xyron and I finally figured out how to get my gems to stick to stick without using additional glue; stick them on BEFORE you sprinkle on the glitter...duh! Let's see how often I remember that in the future. LOL When I got her all assembled she sorta reminded me of Malificent from Sleeping Beauty and she looked like she had daggers in her eyes while gazing in the mirror (as I often do these days...getting old is not for wimps...sheesh!) hence the sentiment, computer generated. Might make a good birthday card, eh? The Gruesome Twosome and another lucky winner will receive some of Andrea's fab digis so I know you want to pull out your smudgeworthy mediums and play along. the rest of the Minions have some wonderfully creepy examples HERE.